Partial Seams Tutorial
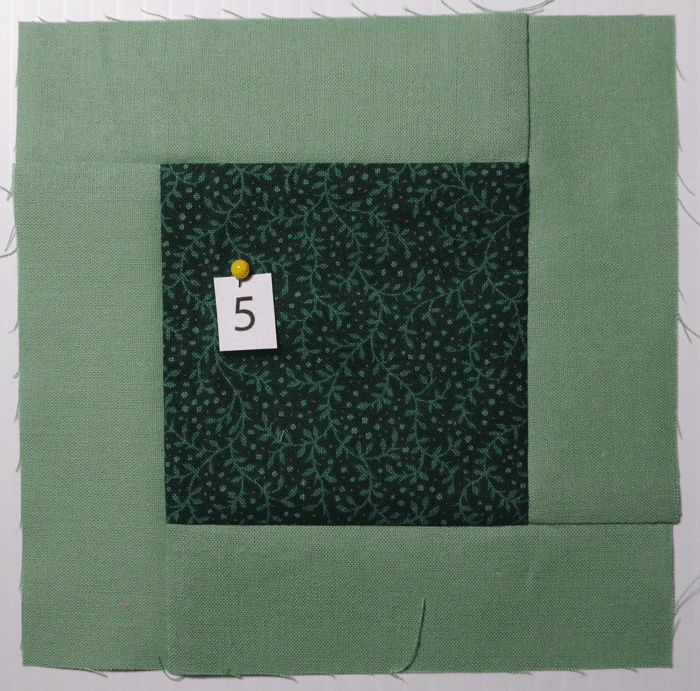
Partial Seams are used when you need to join pieces around a center square. Basically you are going to sew a partial seam on one piece of fabric and come back to it later. The partial seam helps you line up the subsequent pieces of fabric without having to do a set-in seam.
If you'd like to follow along with this tutorial. Cut four light green 4 1/2" x 1 1/2" strips and one dark green 4 1/2" x 4 1/2" square.
Step 1
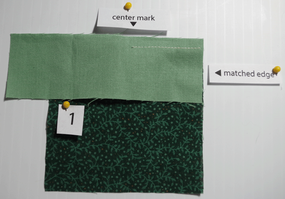
You can start on any side of the block. Place a strip, right sides together, on the center square. Align the edges. One side will hang off. Mark the center of the square along the strip. Then sew a seam from the center mark to the matched edge. See the picture below for reference. Finger press your seam towards the center.
Step 2
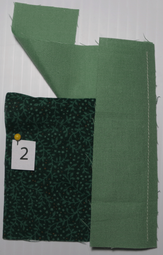
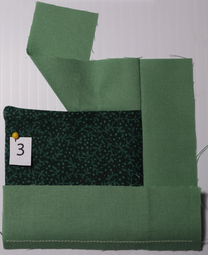
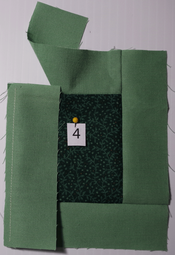
You'll notice the strips are the same length as the square and the width of the sewn on strip. Continue clockwise sewing on the next three strips and pressing the seams towards the center. The partial seam allows you to sew the last strip like normal instead of having to deal with a set-in seam at this point.
Step 3
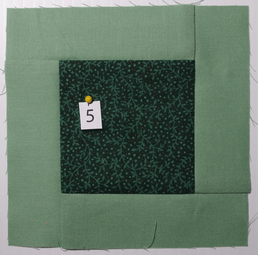
Now finish the partial seam and you're done!

Leave a Comment